
Universal 12 LED Brake Stop Tail Light (GRAY)
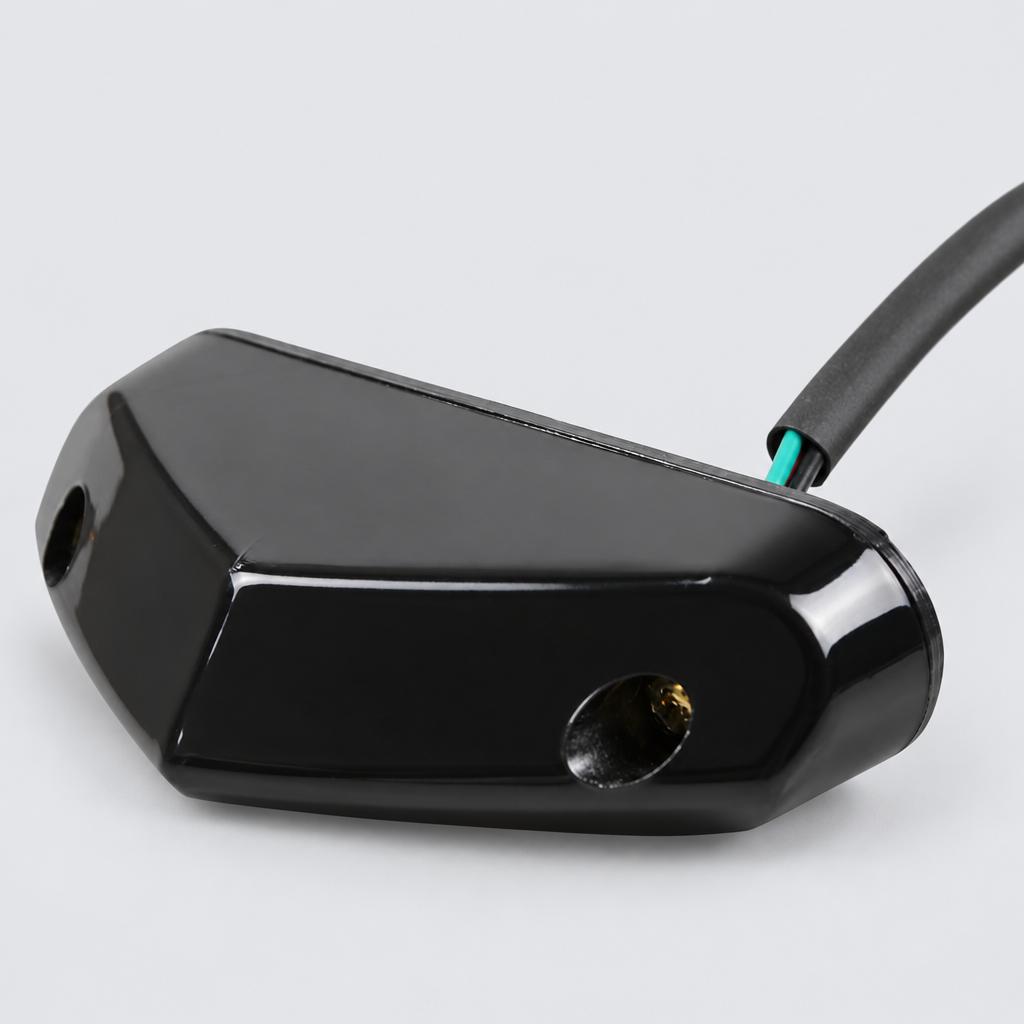
A smoke-lens 12V LED light strip for motorcycles and ATVs. Features 12 super bright LEDs for use as an integrated running light and brake stop indicator. Designed with a durable PC lampshade and energy-efficient LEDs for a long 80,000-hour lifespan.
Key facts
- Part type
- Tail Light Assembly
- Type
- Aftermarket replacement
Compatibility matrix
Only models verified by our team are listedTo see if it fits your vehicle, compare these published specifications with your original part:
- Voltage
- DC 12V
- LED Count
- 12 LEDs
- Light Color
- Red
- Lens Color
- Gray (Smoke)
- Lifespan
- 80,000 hours
- Material
- Plastic + PC Lens
- Cable Length
- 26 cm
Not sure? Send us your exact model number and we will confirm the fit before you order.
We have not confirmed a model list for this part yet. Match it with the published specifications above, or send us your exact model number and we will confirm before you order.
Tail Light Assembly specifications
- Voltage
- DC 12V
- LED Count
- 12 LEDs
- Light Color
- Red
- Lens Color
- Gray (Smoke)
- Lifespan
- 80,000 hours
- Material
- Plastic + PC Lens
- Cable Length
- 26 cm
Installation guide - Replacing a tail light assembly
General guidance for this part type - always follow your device manual- Socket set or nut driver
- Plastic trim tool
- Masking tape
- Check for water marks in the trunk later; a gap in the gasket lets water in.
- 1Make it safe. Engine off, lights off. Open the trunk or tailgate.
- 2Reach the fixings. Remove the access cover or trim panel inside the trunk behind the lamp; the nuts are on the back of the lamp. Some lamps also have screws on the edge facing the open tailgate.
- 3Remove the old lamp. Unplug the connector by pressing its tab, undo the nuts and pull the lamp straight back. Put tape on the paint around the lamp first; ball clips need a firm, wiggling pull.
- 4Fit the new lamp. Move the bulbs across if the new lamp has none, check its gasket is seated, push it onto the studs and tighten the nuts snug, not hard, since the housing is plastic.
- 5Test every function. With a helper, check tail, brake, turn, reverse and hazard lights before refitting the trim.
This is general guidance for the part type, not a model-specific procedure. If the part does not fit without force, stop and recheck compatibility.
Maintenance check
Signs it's time to replace
- 01Light is out, dim or flickering
- 02Cracked, foggy or yellowed lens
- 03Moisture or water inside the housing
- 04Dashboard bulb-out warning
12 month warranty on every part
Every part we sell is covered for 12 months from delivery. If it fails in normal use, we replace it or refund you , claim it straight from your order page.
Customer reviews
No reviews yet
Bought this part? Be the first to share how it fit and how it held up.
Questions & answers
+Which models has your team verified?
None yet. The title shows the models this part is designed for, but our team hasn't confirmed the fit. Compare the part with your old one before ordering.
+What voltage does it use?
Listed voltage: DC 12V. It must match the voltage of your original part.
+What is the tail light assembly made of?
Listed material: Plastic + PC Lens.
+Is it hard to install?
Install difficulty: Moderate · basic hand tools. Step by step instructions are on this page.
+How fast will it arrive?
US orders arrive in 7 to 15 business days with free shipping. Other countries are shown at checkout.
+Is there a warranty?
Yes, a 12-month warranty is included, and you can extend it at checkout. Returns are accepted within 30 days.